Multi Grit Tester
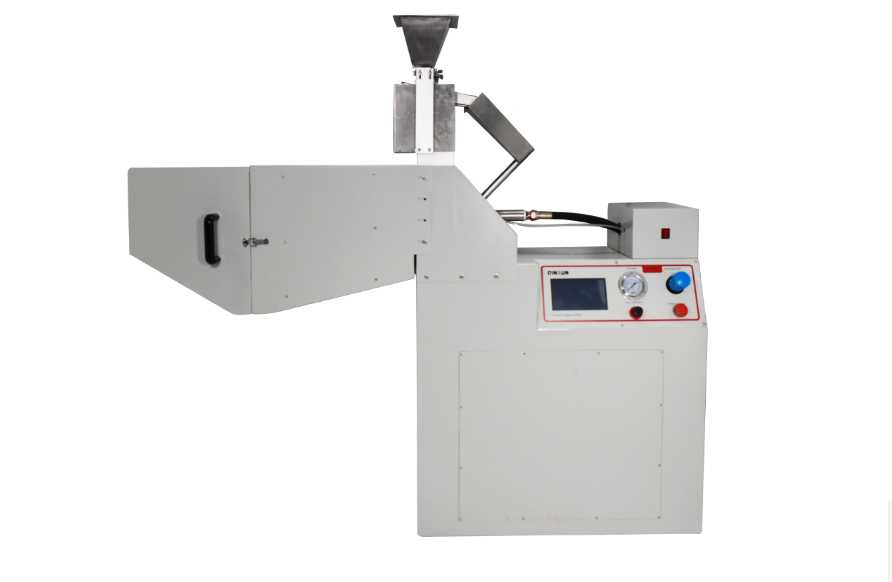
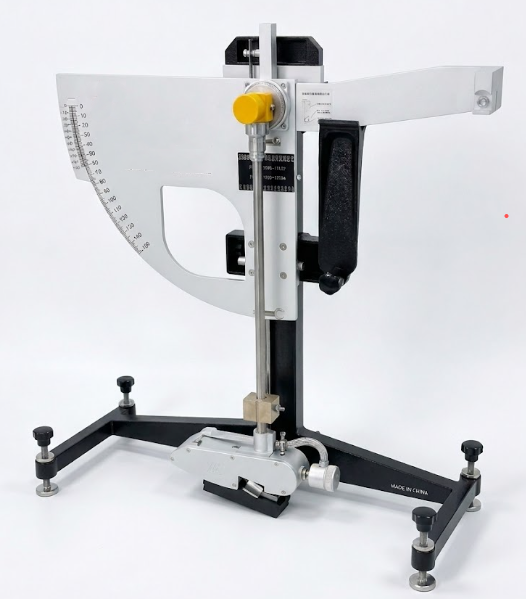
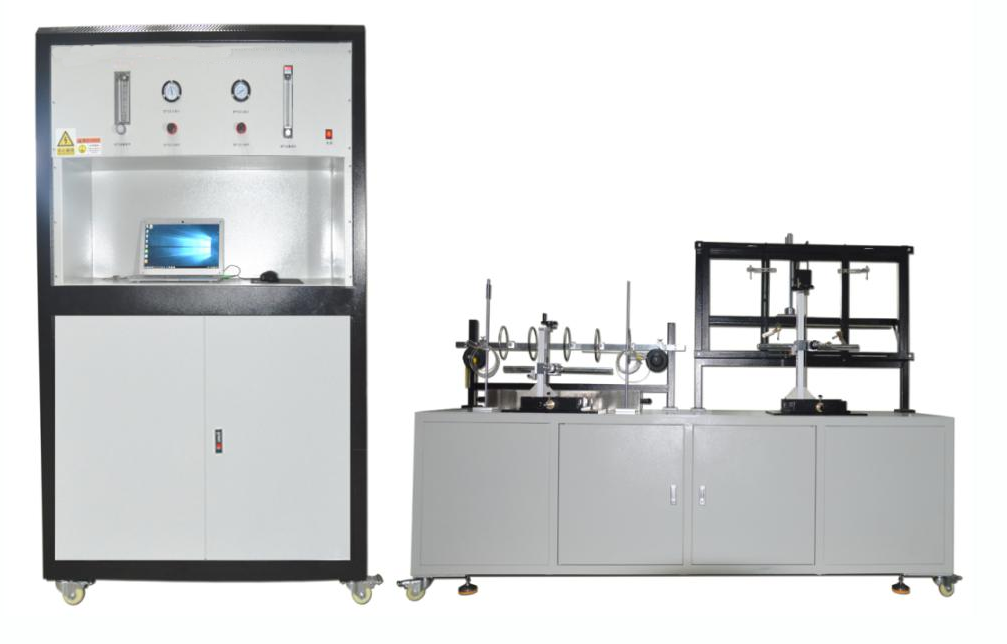
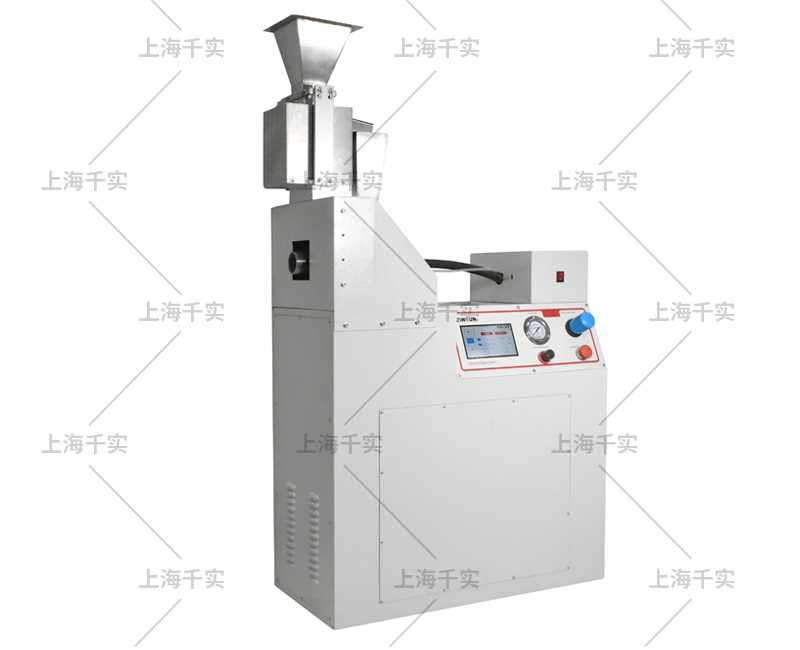
Multi Grit Tester is a stone-hammer-blow / Stone Chip resistance tester that was originally developed in collaboration with the German Association of the Automotive Industry (VDA), but which also meets the requirements of national and international standards. TheMulti Grit Tester is for evaluating the performance of single- and multi-layer paints and similar coatings when subject to the stresses caused by low-mass, high-speed impacting objects (such as those encountered on road and rail vehicles, and traffic equipment). The new Gravelometer is a stone-hammer-blow testing instrument, which (in contrast to the VDA version) is equipped with an adjustable impact angle. Stone Chip resistance test finds its wide application in automotive industry for determination of the resistance of the coatings when subject to chipping damaged by stones.
haracteristics:
Test type: stone hammer blow
Other characteristics: pneumatic
Standard :
DIN EN ISO 20567-1 FORD FLTM BI 157-06 RENAULT D24 1702 PSA D24 1312 DAIMLER DBL 5416
SAE J 400 ASTM D 3170
Technical indicators:
EMC immunity: EN 50082-2 (1995)
EMC radioactivity: meets EN 55011 (1997) level requirements
air:
Gas consumption: up to 80psi, flow rate of 100 cubic feet per minute of gas 5-10 seconds (VDA standard requires less)
Compressed air: 80psi pressure, flow rate of 100 cubic feet per minute
Compressed air pipe diameter: SAE test: 3/4 inch (19mm) or greater
VDA test: 1/2 inch or greater
Air tank volume: 30 gallons
Operating temperature: -30 ℃ --- 40 ℃
Maximum relative humidity: humidity of 31 ℃ when the humidity of 80%, when the temperature reaches 40 ℃ when the humidity line reduced to 50%
Pollution control: Level 2 of environmental protection
Sound pressure rating: about 130dBA
Altitude: 2000m
Continuous operation: for continuous operation
Shot barrel diameter:
SAE J400: 2.07 in. (52.6mm)
VDA: 11.42 inches (290mm)
Flat Inspection Sample Size:
4X6 inch (101.6 x152.4mm)
4X8 inch (101.6 x203.2mm)
4X12 inch (101.6 x304.8mm)
Thickness up to 7/16 inch (11.11mm)
It is also possible to accept a sample with a maximum width of 4.125 inches (104.8 mm)
Technical Parameters:
| Items | VDA | SAE |
| Dimension | 1750x500x1220mm | 1600x500x1250mm |
| Net weight | About 100Kg | About 100Kg |
| Compressed air port | 6-10bar,13mm connecting pipe | 8-10bar,19mm connecting pipe |
| Input pressure limit | 5bar | Over 7.8bar |
| Working pressure | 0-3bar/grade 1 | 0-6bar controlled by sensor with 0.5% accuracy |
| Feed time | 5~30s adjustable | 4~30s adjustable |
| Display | 8 digit backlit LCD, height 11.5mm | 8 digit backlit LCD, height 11.5mm |
| Power | 230V/50Hz,Other power sources are also available | 230V/50Hz,Other power sources are also available |
| Impact medium | 4-5mm sharp steel balls, GH Diamond 06032 | Cobblestones, in accordance with ASTMD 3170 |
Features:
· The ejection nozzle is free and fast, complying with standards such as VDA and SAE.
· The touch screen setting makes the test process more convenient and concise.
· Plate type test sample angle can meet the requirements of 0-90 ° settings at 15 ° intervals.
· Continuous or intermittent operation can perform multiple tests in a short time.
· Feed rate is adjusted by electromagnetic vibration feeder.
· The large volume compressed air storage tank keep pressure and flow constant while controlling the pressure through control valve in the ejection nozzle.
· It is equipped with various safety protection measures: safety power-off device, air pressure safety protection device, which conforms to European CE and EMC certification.
Assessment Method:
1) Stick the adhesive tape to the surface of the sample coating, apply uniform force for tight attachment to the surface of the sample and avoid creating air bubbles. Then pull up the tape.
2) The tape is attached to the surface of the sample coating, and it is applied to the surface of the sample with uniform force to avoid the bubbling. Then pull up the tape from the opposite direction of 1).
3) Repeat the steps of 1) and 2) until the damaged coating completely comes off.
4) At this pint, you can accurately count the damage points for assessment.
5) Cover the transparent grille on the sample, count the number of coating damage points (except the impact marks) in 101.6mm x 101.6 mm area and confirm the size of the damage pints.
Note:QINSUN is very in place for textile testing and quality control,we have our own textile testing lab. Our textile testing equipment and testing methods are in the leading position in the industry. We have passed the textile testing certification and iso textile testing standards issued by a number of testing,We can provide textile testing equipment pdf manual. Sufficient inventory, big discounts, limited time promotion, Order now!
Leave Message Get Price


