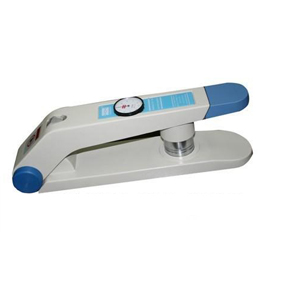
Test for detecting the softness of leather

The
leather softness tester provides a simple and practical quantitative determination of leather softness without any damage to the leather being tested and without affecting the use of the leather being tested. Reduce human error, both easy to operate, but also make the results stable and correct.
Softness is an important index to evaluate the quality of leather, but because of the structural characteristics of leather fibers, there is currently no method and instrument for the quantitative determination of leather softness. In the actual production and use, the evaluation of leather softness is still using the traditional "hand touch" method, that is, with the experienced tanning experts or tanning workers feel the leather softness to give the grade.
Although this method is simple, the evaluation result is subjective, accidental and non-parallel, and cannot reflect the real situation of leather softness objectively and scientifically. This instrument provides a simple and practical quantitative determination of leather softness, without any damage to the measured leather, and will not affect the use of the measured leather.
Leather softness tester technical advantages
1. Adopt high precision force measuring sensor to ensure the test accuracy error within ±1%, which is better than the ±3% specified in the standard.
2. The use of stepper motor control, the probe travel process is accurate and stable, the measurement results repeatability.
3. LCD Chinese display, friendly human-machine interface operation, fully automatic completion of the test, with statistical processing of test data, micro-printer output, automatic memory and display of results, reducing human error, both easy to operate, but also make the results stable and correct.
4. The instrument is equipped with special calibration device and standard weights, with built-in calibration program, which is convenient for metrology and calibration department to calibrate the instrument. When calibrating, hang a weight on one end of the parallel bar and place the other end at the lower end of the probe to calibrate the indicated value error.

2021-09-13 12:02


